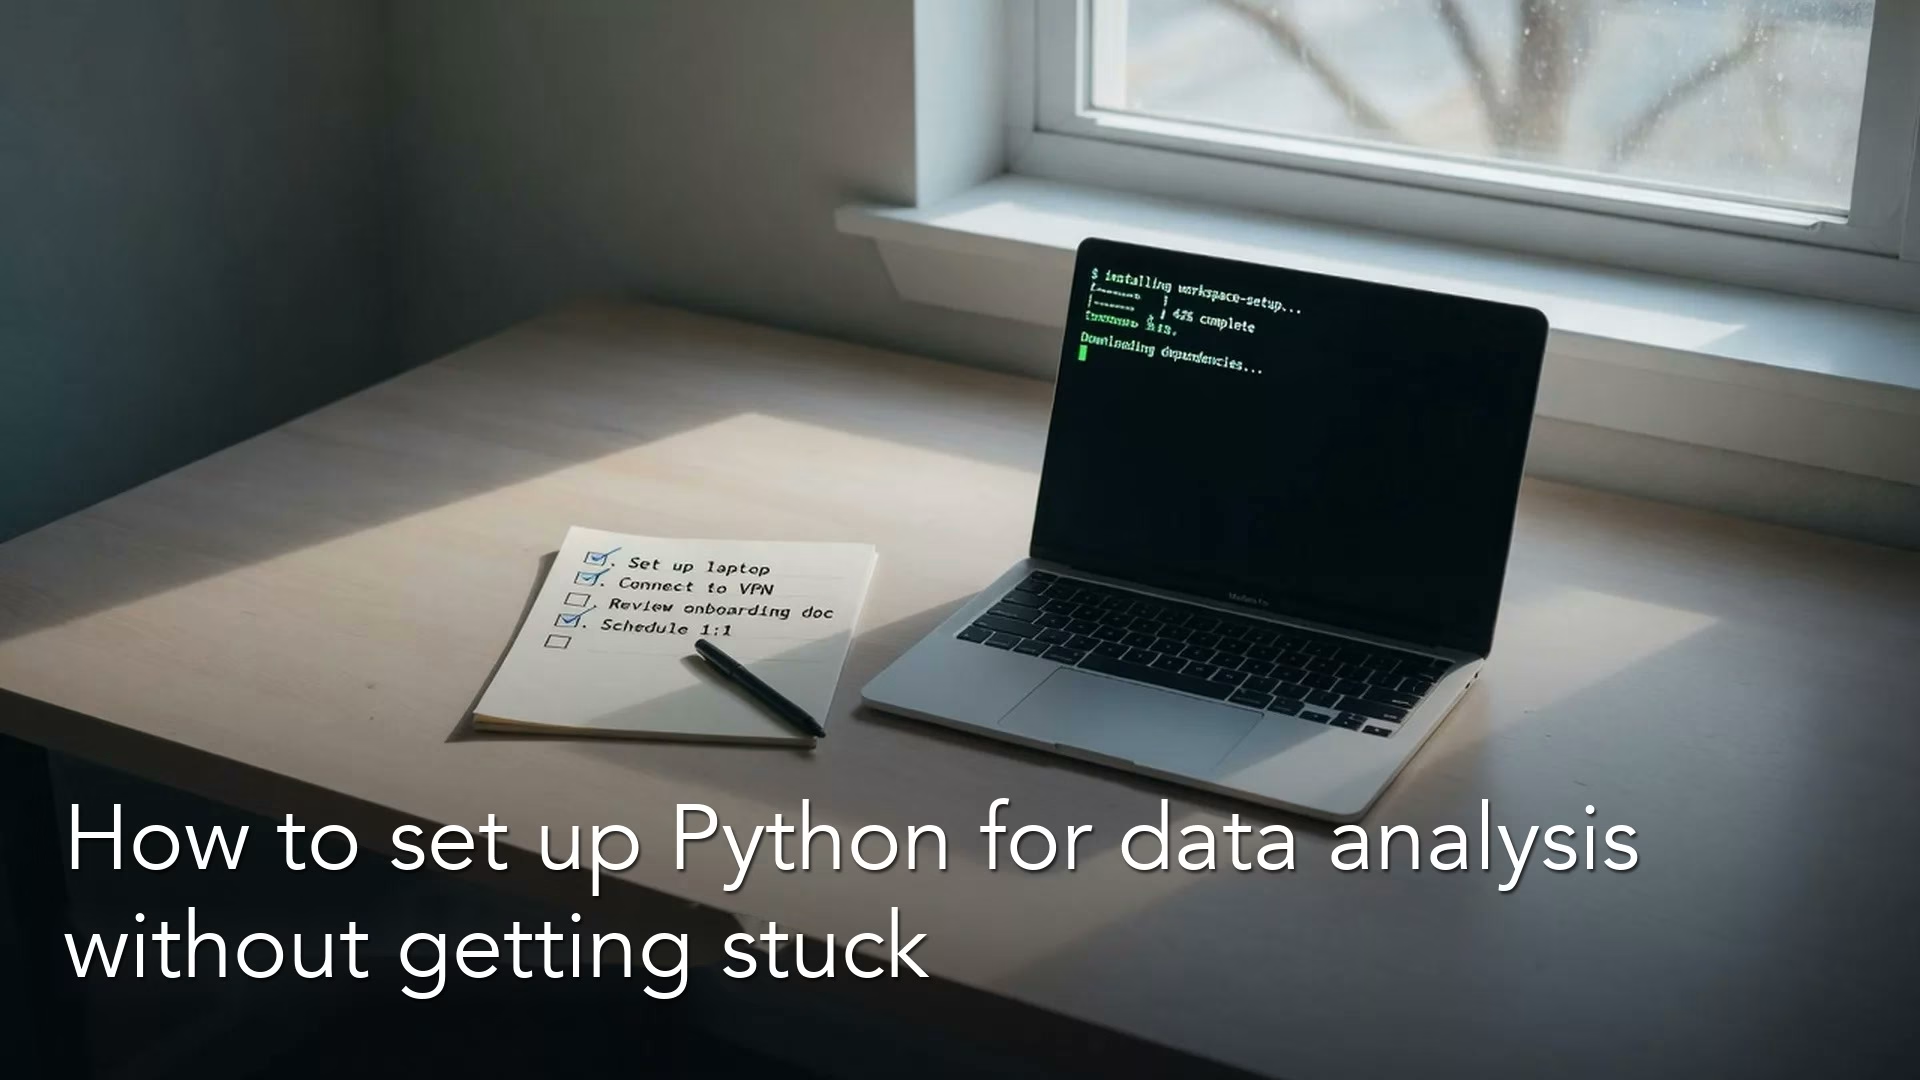
Setup is where many people quit Python before they ever filter a row. They do not quit because they are “not technical.” They quit because install guides assume you already know the jargon. This post takes the opposite approach: plain language, one simple path, and a tiny table at the end that proves your computer is ready.
The first post in this Python for analytics series explained when Python is worth using at all. Now the goal is to make your setup boring in the best way, meaning predictable, kept apart from everything else on your computer, and good enough to load a CSV (a plain text file of rows and columns that any spreadsheet can open). If you are still building habits around messy files, keep the tutorials on moving from spreadsheets to real data nearby. The Learn page shows the full learning map.
What we are installing (and what we are not)
Python is a language runtime, which means a program that can run .py files and interactive sessions. pip is the common tool that installs libraries, also called packages, into that runtime. pandas is one of those libraries, and it gives you DataFrames, the table-like objects this series uses heavily.
You do not need to install all of data science today. You need only four things:
- A current version of Python 3, where version 3.10 or newer is a comfortable target for most learners in 2026
- A place to type code, such as Visual Studio Code, Jupyter, or even a plain terminal (the text window where you type commands) for short scripts
- A virtual environment (a private set of installed packages for one project), so that one project does not break another
- pandas, plus whatever else a later lesson needs
You do not need a graphics card, a cloud account, or a corporate data platform just to learn. Your work data may live somewhere else later, but for setup practice a CSV on your desktop is perfect.
Install Python without the folklore
Mac (high level)
Modern Macs may already have a copy of Python that the operating system uses for its own jobs. Do not treat that copy as your playground, because changing it can break things you did not expect. Prefer an install you control:
- Download an official installer from python.org, or else
- Use a package manager such as Homebrew, which installs software from the command line (the text window where you type commands), if your team already uses it
After the install finishes, open Terminal and run the commands below to check it:
python3 --version
pip3 --version
You want to see a version number and not the message “command not found.” If both commands work, you are ready to make a virtual environment.
Windows (high level)
Use the official installer from python.org. During setup, tick the option that adds Python to PATH, which is the list of folders Windows searches when you type a command (the wording varies slightly by installer version). That one checkbox prevents a week of “Python is not recognized” pain.
Then open PowerShell or Command Prompt and run this check:
python --version
pip --version
These two commands print the version of Python and of pip, the tool that installs Python add-ons. Seeing a 3.x number for both means Windows can find Python, which is what the checkbox above was for.
Some machines respond to py --version through the Windows Python launcher instead, and any clear 3.x version is fine. If your IT team locks installers, ask for a supported Python 3 build or use a company-approved environment, because fighting security policy is not a pandas skill.
Company laptops and “but IT…”
If you cannot install software, you still have options: a managed Jupyter server (a computer that runs programs for others to use), a cloud notebook your company already pays for, or a remote computer set up for developers. The ideas in this series, namely virtual environments, pandas, and CSV files, carry over to all of them, and only the exact clicks change. A locked laptop is not proof that you cannot learn analytics.
Where you will write code
There are three common homes for your code. None of them is better than the others, because each one suits a different working rhythm.
| Home | Best for | Watch out for |
|---|---|---|
| Jupyter notebook (.ipynb) | Exploration, teaching, mixed notes and code | Hidden cell order, where the notebook only works if you run the cells out of order |
| Script (.py) run in a terminal | Repeatable jobs, clear top-to-bottom runs | Less interactive poking unless you add prints |
| Visual Studio Code (or similar editor) | Both scripts and notebooks; great day-to-day | You must select the right Python interpreter, which is the one inside your virtual environment |
For this series I recommend Visual Studio Code with a virtual environment, plus a notebook when you want a scratchpad. If that editor feels heavy, plain Jupyter is fine, and if notebooks feel chaotic, plain scripts are fine. A later post in the series cares a great deal about code that runs cleanly from top to bottom, so it is worth starting that habit now.
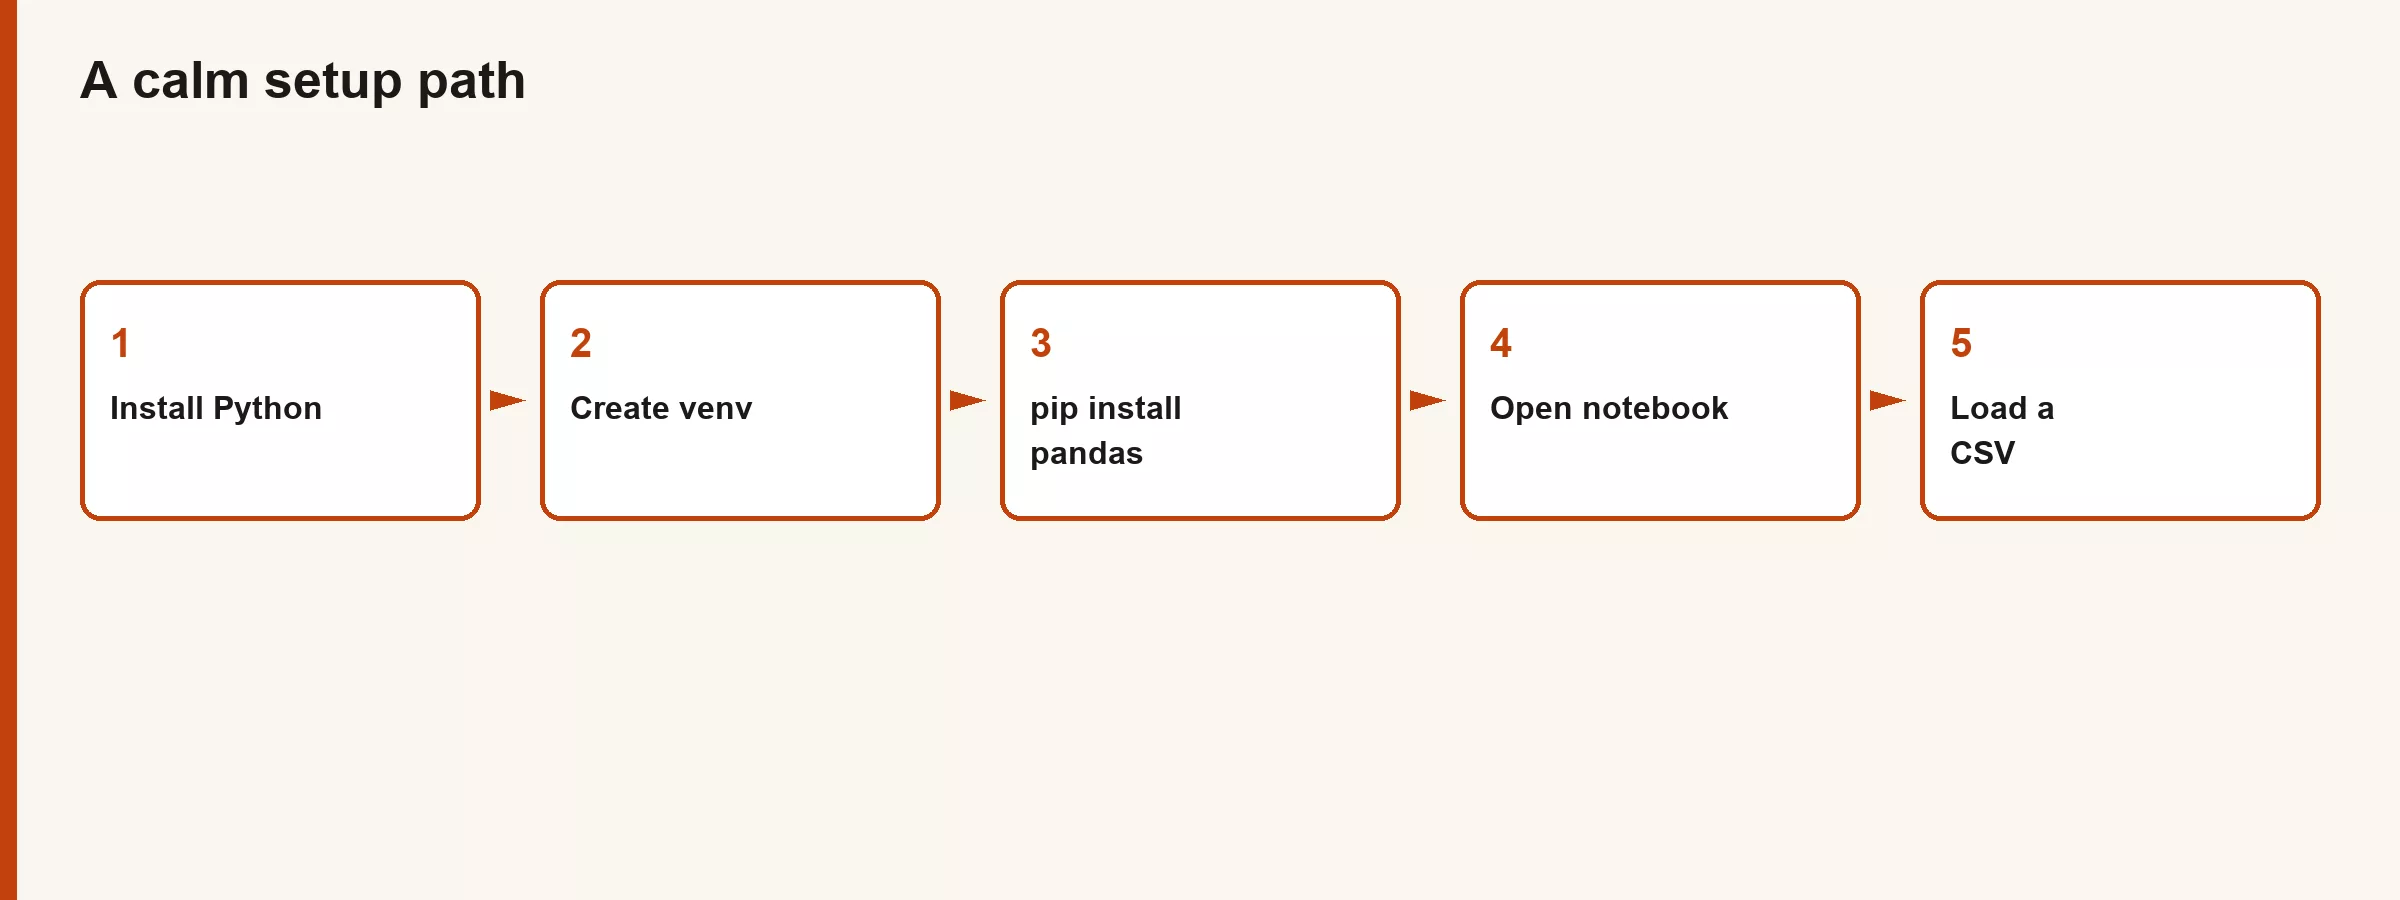
Virtual environments in plain language
A virtual environment, often shortened to venv, is a bubble inside your project folder that holds its own installed packages. Think of it as a labeled toolbox on the shelf for one project, instead of dumping every wrench into a single drawer for the whole house.
There are three reasons you want one:
- One project can use a newer pandas while another keeps an older set of tools frozen for audit reasons.
- You can delete the bubble and recreate it without reinstalling the copy of Python that your whole computer uses.
- You avoid the classic “works on my machine” problem, which is often caused by mystery packages installed for everything.
You will see other tools such as conda, poetry, and uv, and they are fine. This series prefers the built-in venv together with pip because both come with Python and are widely documented. Once you understand the idea, switching to another manager is a translation and not a new career.
Worked setup: venv, activate, pip, hello DataFrame
Create a folder for practice and give it a boring name like ams-python. You will put a tiny CSV inside it later, but first you need to create the environment.
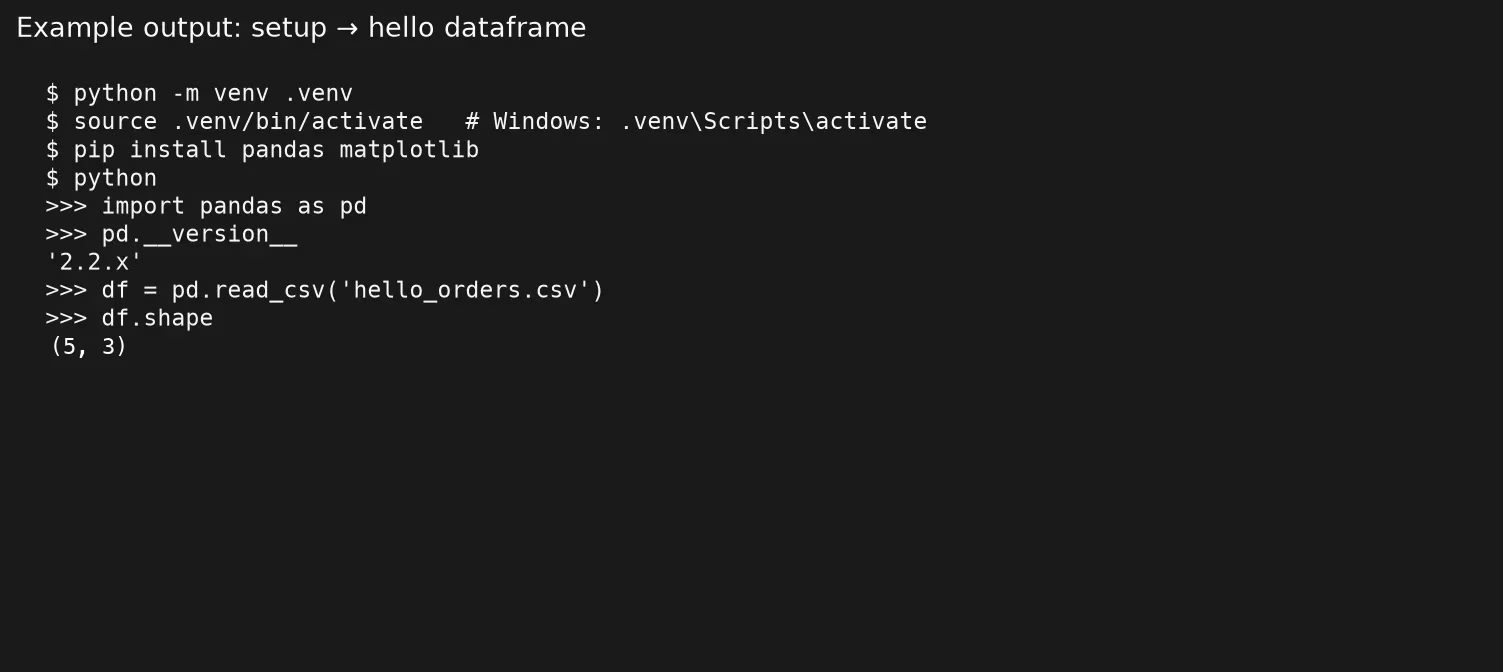
Mac / Linux (from inside your project folder):
python3 -m venv .venv
source .venv/bin/activate
python -m pip install --upgrade pip
python -m pip install pandas
Example:
Windows (PowerShell), same idea:
python -m venv .venv
.\.venv\Scripts\Activate.ps1
python -m pip install --upgrade pip
python -m pip install pandas
When the venv is active, your prompt often shows (.venv). That little prefix means packages will install here and not into the whole machine, and you can leave the bubble later by typing deactivate.
If PowerShell blocks activation scripts, you may need a one-time policy change for your user account, or you can use Command Prompt’s .venv\Scripts\activate.bat instead. Corporate machines vary, but the goal stays the same: the python you run should be the one inside .venv.
Confirm pandas:
python -c "import pandas as pd; print(pd.__version__)"A version number means success. An ImportError means you installed into a different Python than the one you are running, and that mismatch is the most common setup bug there is. Fix it by activating the venv again and reinstalling with python -m pip install pandas, which calls pip through Python so the two cannot disagree.
Make a tiny CSV
Create hello_orders.csv in the project folder with a text editor:
order_id,region,revenue
1,East,4200
2,West,8100
3,East,6900
4,South,1500
5,West,3200
These lines are the contents of a tiny comma-separated file: a header row with three column names, then five orders with an id, a region, and revenue. A file this small lets you check your first pandas commands against numbers you can add up in your head.
You can also build the same table in Google Sheets and export it as a CSV, which is equally valid. Just avoid pretty exports with two header rows and merged title cells, because tidy columns now will save you trouble in the next post.
Hello DataFrame
With the venv active, run a short script (or notebook cells with the same lines):
import pandas as pd

orders = pd.read_csv("hello_orders.csv")

print(orders.head())
print(orders.shape)
print(orders.columns.tolist())
Example output:
| order_id | region | revenue | order_date |
|---|---|---|---|
| 1 | East | 1200 | 2026-01-03 |
| 2 | West | 800 | 2026-01-03 |
| 3 | East | 5400 | 2026-01-04 |
| 4 | North | 300 | 2026-01-05 |
| 5 | West | 2100 | 2026-01-05 |
You should see five rows, a shape of (5, 3), and the column names order_id, region, and revenue. That moment matters more than it looks, because it proves that Python runs, the venv works, pandas imports, and the file path is correct. Everything else in the series builds on that loop.
If you get FileNotFoundError, you are not in the folder you think you are. In the terminal, pwd on Mac and Linux, or cd on Windows, prints the current folder. In Visual Studio Code, check the working directory shown in the terminal panel. Paths are not mysterious, they are just easy to get wrong with a stray click.
Editor settings that save an evening
If you use Visual Studio Code, do these four things:
- Install the official Python extension when prompted, because it adds the features that make notebooks and scripts work in the editor.
- Choose the interpreter that points at .venv, so the editor runs the same Python and packages you installed, using the Command Palette entry called “Python: Select Interpreter.”
- Open the folder as a workspace root so relative paths like
hello_orders.csvresolve cleanly. - For notebooks, pick the same kernel, which is the engine that runs the cells, as the venv interpreter.
A wrong interpreter is the quiet cousin of a wrong pip, because the editor looks fine while the import fails. Whenever something should work and does not, verify which environment is selected first.
Jupyter without getting lost
Inside the active venv you can install Jupyter if you want the classic notebook UI (the screens and buttons people use):
python -m pip install jupyter
jupyter notebook
You can also use notebooks inside Visual Studio Code, which many analysts prefer because their files and version history live in one place. Either way, remember that notebooks can run cells out of order. Before you trust a result, choose “Restart kernel and run all,” which is ordinary professional hygiene and not pedantry.
A realistic first week of friction (and how to respond)
Setup rarely fails in one dramatic way. It usually fails as a pile of small mismatches, and knowing the common ones keeps you from concluding that you are bad at code.
- Two Pythons on the machine. You installed pandas for one copy of Python and ran a script with another. The fix is to always use
python -m pipand to select the venv interpreter in the editor. - Wrong working directory. The CSV is real, the path is relative, and you launched the tool from a parent folder. The fix is to
cdinto the project, or to use a full path once while you debug. - Notebook kernel out of date. You installed pandas after opening the notebook, so the notebook has not seen it yet. The fix is to restart the kernel and run all cells after any install.
- A company network blocks pip. Corporate proxies and secure-connection checks can stop downloads. The fix is to ask IT for the approved package source or an internal copy of it, and not to switch off security on a work laptop.
- Permission errors when writing
.venv. The fix is to create the project in a folder you own, such as Documents or your home folder, and not in a protected system folder like Program Files.
Write down what worked on your machine in a three-line note covering how you activate, how you install, and how you run. That note is worth more than a perfect memory of every flag, and when you change laptops it becomes your migration guide.
Also decide where your practice files live. A single folder such as ams-python/ with data/, notebooks/, and .venv/ inside it is enough structure for this series, and you can grow into a more formal project layout later. Over-planning on day one is just another way to avoid learning tables.
What “good enough” setup looks like
You are done with setup when all of these are true:
| Check | Pass looks like |
|---|---|
| Python 3 available | python --version or python3 --version prints 3.x |
| venv exists | Folder .venv in the project |
| venv active when working | Your prompt shows (.venv), or the editor kernel is the venv |
| pandas installed in that venv | import pandas works; version prints |
| CSV loads | read_csv shows expected rows |
You do not need perfect knowledge of every flag. You need a stable loop of activating the venv, editing, running, and seeing a table.
Common mistakes
- Installing packages without activating the venv. They land somewhere else, and you will be confused about it later.
- Using a
pipthat does not belong to yourpython. Always preferpython -m pip install …so the two stay paired. - Fighting the system copy of Python on a Mac. Leave the copy the operating system manages alone, and use your own install plus a venv.
- Installing every library (a ready-made package of code you install) you have heard of on day one. Start with pandas and add packages only when a lesson needs them.
- Saving notebooks that only run if you execute cell 7 before cell 2. Restart the kernel and run all cells before you share the file.
- Putting secrets in code. API keys and passwords do not belong in a tutorial file you might share or save to a code repository (a shared folder of code with its full change history). Use environment variables later, and for now keep to local practice files.
- Skipping the PATH option on Windows. If the installer offered to add Python to PATH and you declined, reinstall or fix that setting before you blame pandas.
Rule of thumb: One project folder, one venv, one interpreter selected in the editor. When imports fail, check those three before rewriting your code.
Practice and next step
Do the following once on your real machine:
- Create a project folder and a venv named .venv, so this project’s packages stay separate from everything else on your computer.
- Install pandas with
python -m pip install pandas. - Save
hello_orders.csvand load it withpd.read_csv. - Print
head,shape, and column names. - Deactivate the venv, open a new terminal, activate it again, and rerun the script, to prove you can get back into the bubble.
For an optional stretch, export a small sheet from work with no sensitive columns and try loading it. If the headers look wrong, you have just met the reason the next post exists.
The next post covers DataFrames as tables. It maps spreadsheet and SQL (the standard language for asking a database for data) table ideas onto pandas so the object stops feeling alien.
Quick recap
- Install a copy of Python 3 that you control, and do not take over the one the operating system uses.
- Write code in a notebook, a script, or Visual Studio Code, and pick based on your workflow and not on fashion.
- Use a venv so that packages stay inside one project.
- Install with
python -m pipso that pip and Python stay paired. - Success means you can import pandas, read a CSV, and print the first rows.
- Windows and Mac differ in how you activate a venv, but the mental model is the same.
Sources
- Python downloads (official): https://www.python.org/downloads/
- Python docs, venv: https://docs.python.org/3/library/venv.html
- pip user guide: https://pip.pypa.io/en/stable/user_guide/
- pandas installation: https://pandas.pydata.org/docs/getting_started/install.html
- pandas
read_csv: https://pandas.pydata.org/docs/reference/api/pandas.read_csv.html - Visual Studio Code, Python in Visual Studio Code: https://code.visualstudio.com/docs/languages/python
- Analytics Made Simple, Learn: https://analyticsmadesimple.com/learn/
- Analytics Made Simple, From spreadsheets to real data: https://analyticsmadesimple.com/series/spreadsheets-to-data/
Keep going
Same lessons in your feed
Short diagrams, hooks, and weekly tutorials on Substack, Instagram, X, and Facebook.